Fly tying for beginners: Guide to material selection basics
"The art of creating a fly is more than just tying thread; it is the careful selection of materials to mimic the life of the river."
This guide covers the basics of material selection, from soft feathers to versatile foam, to help you build a foundational collection.
How do I start with fly tying for beginners?
At dawn in the quiet workshop, my fingers tremble slightly while tying the first thread around the steel hook.
Selecting the right tools and understanding the purpose of each material is the first step in mastering the craft.
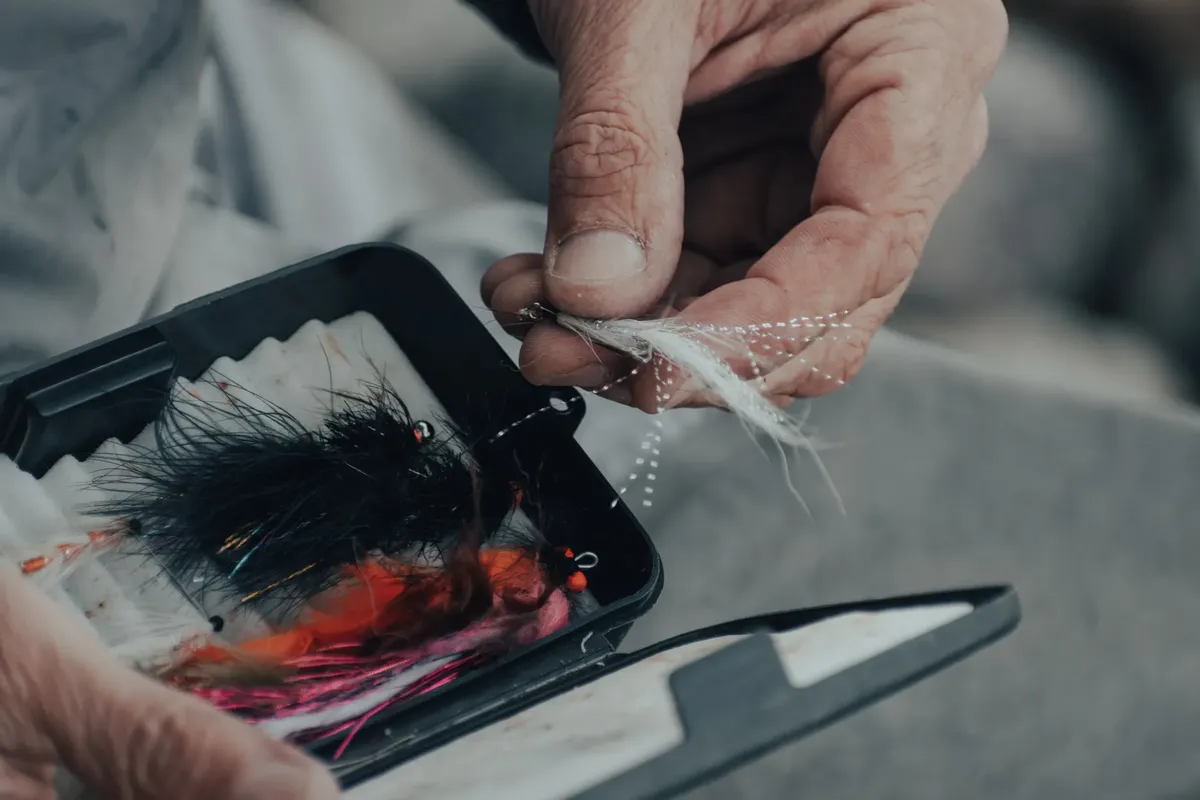
To begin, you must gather a basic kit that includes a vise, bobbins, and various types of thread. Understanding the relationship between material weight and hook size is essential for successful patterns. A well-organized workspace prevents tangles and allows for better focus on delicate tasks.
The process involves choosing a hook that matches the intended size of the fly. You then wrap thread around the shank to create a foundation for the materials. Once the base is secure, you can begin layering feathers or foam to build the body and wings.
What are the best techniques for making feather flies? Under the warm lamp at my desk, I focus on tying the soft hackle to the shank to ensure a lifelike texture.
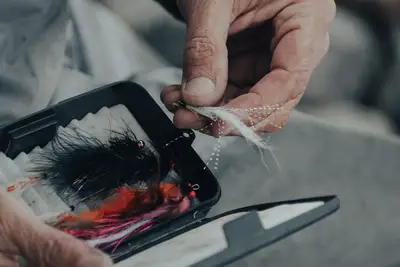
A pair of sharp scissors rests beside a pile of vibrant duck feathers used for creating lifelike wings. Using feathers effectively requires understanding how to strip, hackle, and tie hair to achieve natural movement in the water.
Feather fly making guide techniques often focus on using the natural shape of the feather to create volume. Hackle feathers are particularly useful for creating "legs" or a bushy silhouette that attracts fish. You must learn to strip the fibers carefully to avoid damaging the delicate structure.
The goal is to use the feather's natural taper to mimic specific insect parts. Tying the quill against the hook shank provides a stable anchor for the rest of the fly. This method ensures that the wing or tail remains intact during casting.
How does foam fly tying basics work?
A small piece of colorful foam sits on a cutting mat, ready to be shaped into a buoyant body. Foam fly tying basics rely on the material's ability to hold shape and remain afloat in various water conditions.
Foam is an excellent choice for dry flies because it provides natural buoyancy. You can cut, taper, and shape the foam to create various silhouettes, such as nymphs or terrestrials. It is a forgiving material that is easy to manipulate for those just starting out.
To use foam, you typically wrap it around the hook shank or glue it to a pre-formed base. The material's density can be adjusted by choosing different thicknesses. This allows for a wide range of profiles, from slim-bodied flies to bulkier patterns.
How can I manage materials as a beginner fly tier? A spool of thread sits next to a small pile of various dubbing materials used for body textures. Effective beginner fly tying tips involve learning how to manage different material densities to prevent the fly from becoming too heavy.
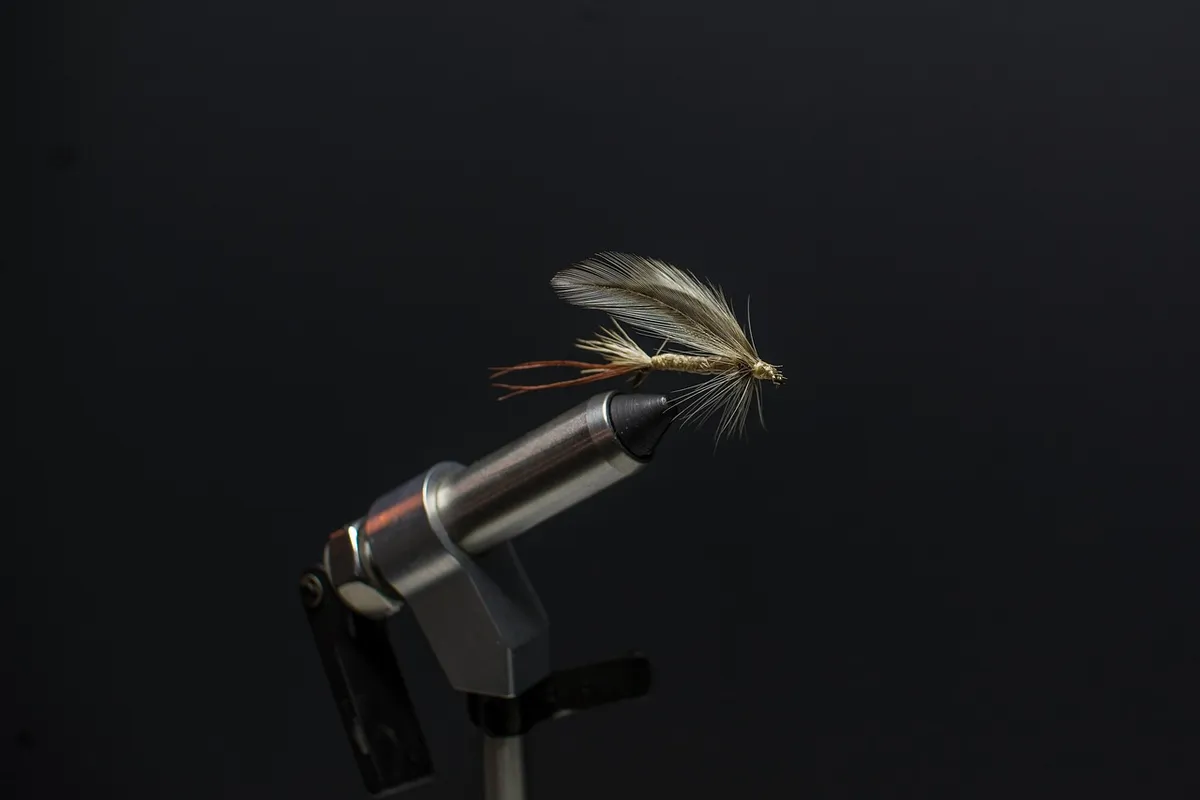
Managing material volume is key to ensuring the fly behaves correctly in the water. If you use too much material, the fly might sink when it should float. If you use too little, it may lack the necessary visibility or profile.
Balance the weight of the head with the buoyancy of the body. For instance, if using heavy beads, you may need more buoyant foam to compensate. Learning this balance is a core part of developing a successful fly.
How to tie first flies using a structured approach?
A single hook is held in a vise as the first layers of thread and dubbing are applied. Following a logical sequence ensures that the fly is structurally sound and visually appealing.
- Secure the hook in the vise and wrap a sufficient amount of thread from the eye to the bend to create a strong base. 2. Apply the body material, such as foam or stripped feathers, by wrapping it tightly around the hook shank. काप
- Add the head by wrapping thread or using a bead to secure the materials at the front of the hook.
A final check involves inspecting the fly for any loose threads or unevenly sized materials. I found that checking the balance of the hook after each layer helps prevent lopsided flies. Ensuring the hook remains sharp and clear of material is also vital for functionality.
What are the limitations of using different materials?
A pile of mismatched materials sits on a table, showing how different textures can sometimes conflict. A primary limitation is that sorting facilities are still not 100% effective in separating materials, which can affect the quality of recycled materials used in some hobbyist supplies.
According to the American Museum of Fly Fishing, the museum's library ranks as one of the largest public collections of fly-fishing books in America.
A limitation of using certain materials is that they may not always behave predictably in different water temperatures or currents. Some materials may lose their shape or buoyancy over time.
| Material Type | Primary Benefit |
|---|---|
| Feathers | Natural movement and realistic texture |
| Foam | High buoyancy and easy shaping |
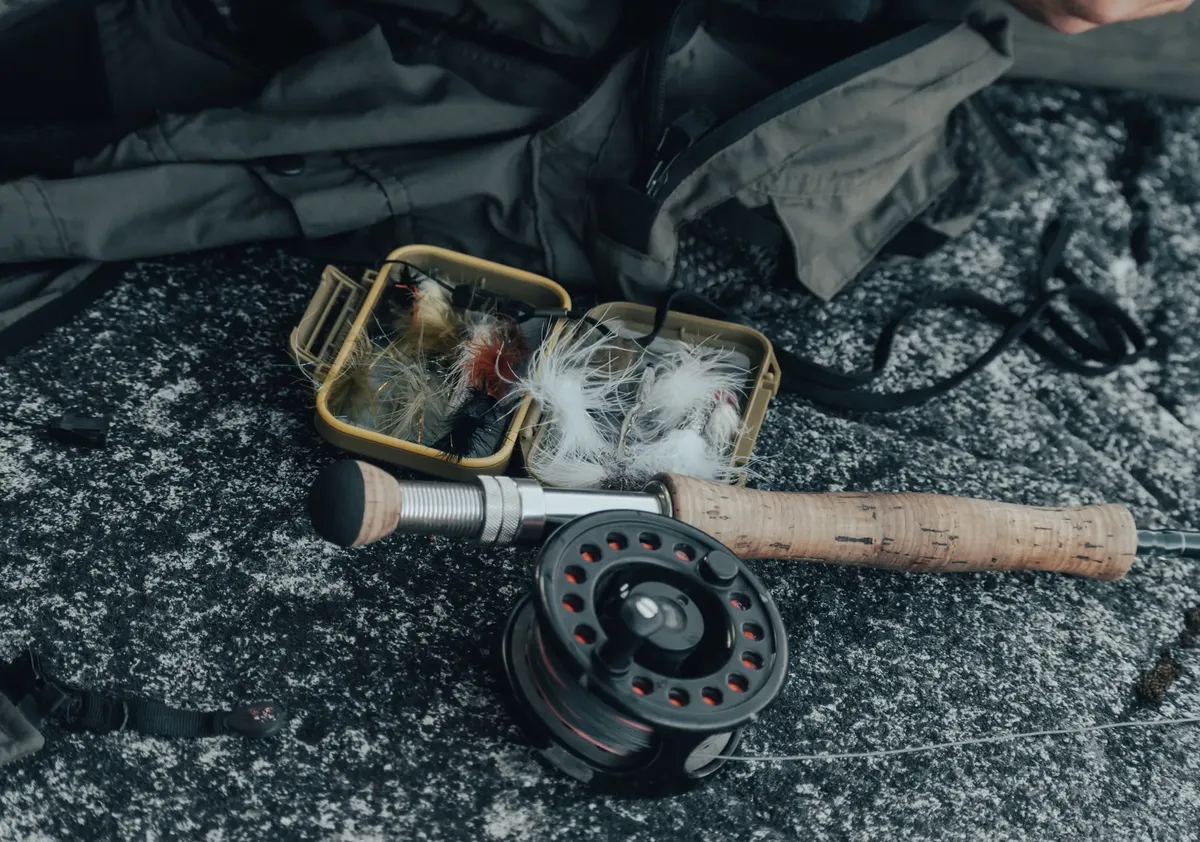
I noticed that using foam requires careful cutting to ensure the hook remains properly balanced.
- Learning fly tying for beginners requires understanding how different textures and colors interact to create convincing imitations.
- You will learn how to manage various textures, follow basic assembly steps, and recognize that material limitations are common in early practice.
- A wooden vise sits on a sturdy desk as a beginner carefully secures a hook to begin their journey.
The subject here is Fly tying for beginners.
The same subject is also called DIY fly materials.
This part also covers Best fly tying materials.
This part also covers Simple fly patterns guide.
Related
- Nymph fly making techniques how to control depth 90
- Saltwater fly fishing gear: Guide to line weight management
Considering Material Interactions in Fly Tying? 1. The careful selection of materials is crucial when creating a fly because different textures and colors interact to form convincing imitations. 2. Understanding how these elements combine helps the beginner in the process of tying.
When creating a fly, the interaction between soft feathers and rigid foam dictates the fly's overall profile. This comparison shows how a material's inherent properties affect the final appearance of the fly.
Properly managing the transition between materials is a key aspect of successful fly tying. For instance, transitioning from a dense dubbing to a light feather requires attention to the underlying structure to maintain integrity during casting.


Comments 0